Summary: in this tutorial, you will learn how to install the MongoDB database server and its tools on your local system.
Download MongoDB Community Server
First, visiting the download page on the mongodb.com website.
Second, click the On-Premises (MongoDB on your own infrastructure tab)

Third, select the MongDB Community Server.
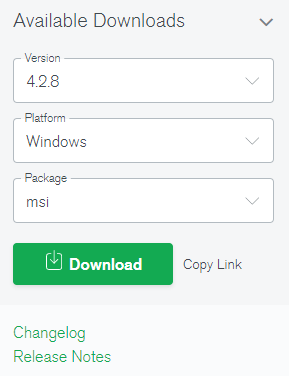
Finally, select the version, platform, and click the download button to download the installation file.
Install MongoDB Community Server on the local machine
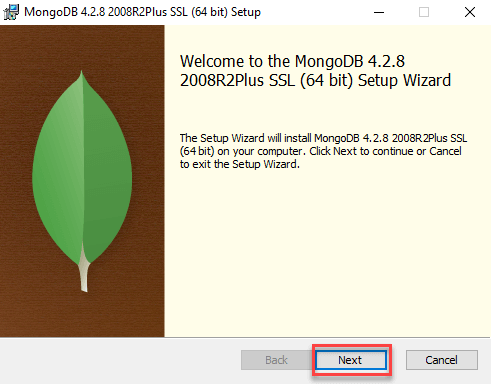
First, double-click the downloaded file to launch the setup wizard. Click the Next button to start setting up MongoDB.
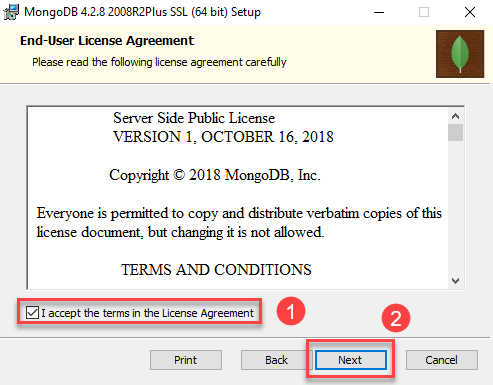
Second, accept the terms in the License Agreement and click the Next button:
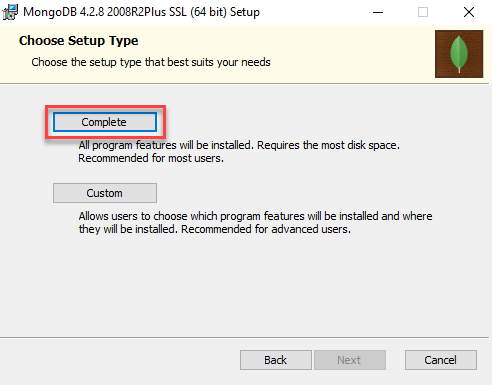
Third, click the Complete button to install all program features. If you want to select which features to install and where they will be installed, select the Custom button. However, this option is recommended for advanced users only.
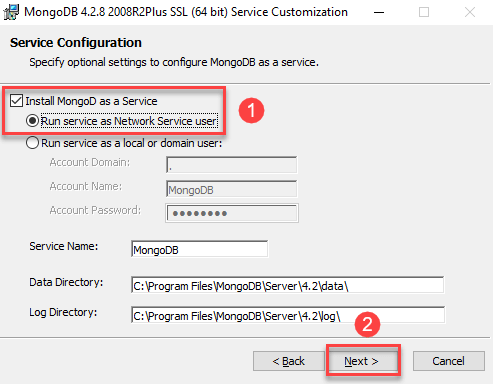
Fourth, select Install MongoD as a service and click the Next button.
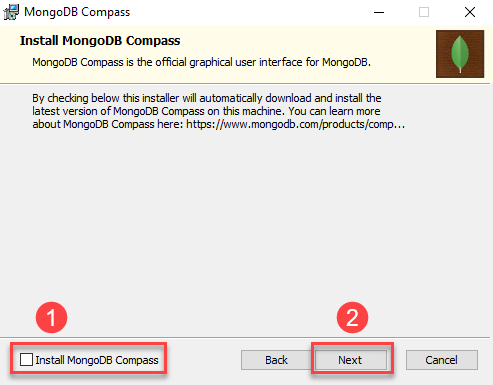
Fifth, uncheck the Install MongoDB Compass checkbox and click the Next button. If you select it, the setup wizard will also install the MongoDB Compass with the community version.
MongoDB Compass is a GUI tool that allows you to interact with MongoDB server including querying, indexing, document validation, and more.
MongoDB Compass has several versions. Like MongoDB, the community version always is free, but with limited features.
The good news is that starting from April 30, 2020, the full version of MongoDB Compass is free for all. You will learn how to download and install MongoDB Compass in the next section.
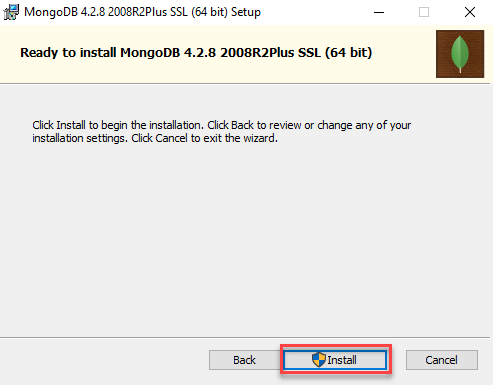
Sixth, click the Install button to start the installation.
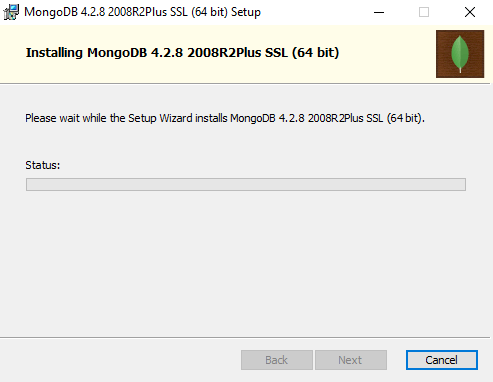
The install will take some minutes to complete.
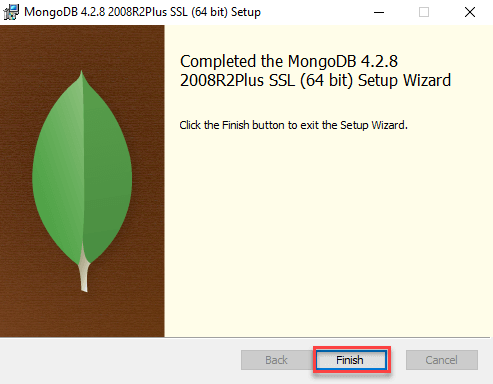
Seventh, click the Finish button to exit the setup wizard.
Download MongoDB Compass
You follow these steps to download MongoDB Compass:
First, visit the download page on the mongodb.com website.
Second, select the MongoDB Compass tool.
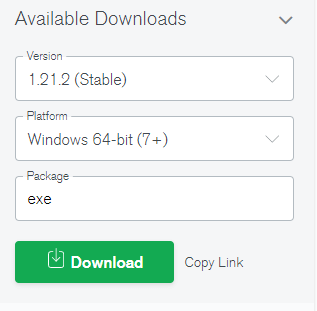
Third, select the stable version to download. Note that the version that you see on the website may be higher than the version on the following screenshot:
Install MongoDB Compass
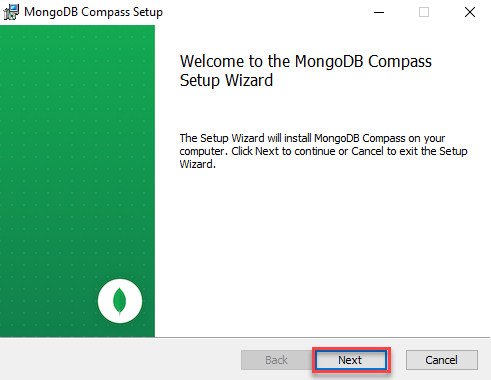
First, double-click the installer file to launch the MongoDB Compass Setup Wizard and click the Next button.
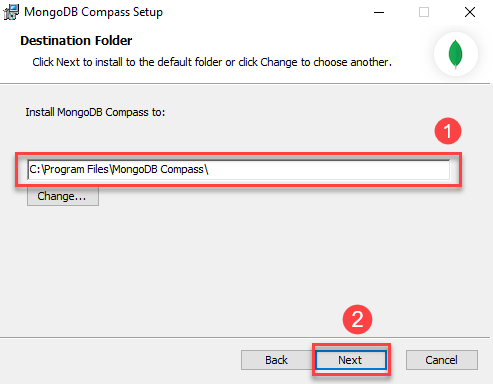
Second, select the destination folder and click Next to install to the default folder which is C:\Program Files\MongoDB Compass
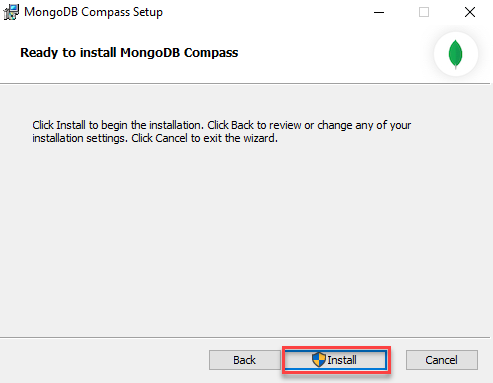
Third, click the Install button to begin the installation.
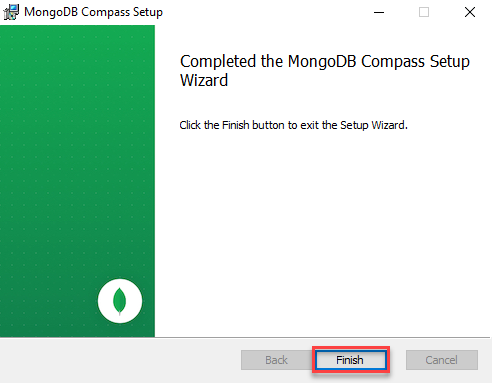
Fourth, once the installation is completed, click the Finish button to exit the Setup Wizard.
You’ll find the MongoDB Compass in the Start menu.
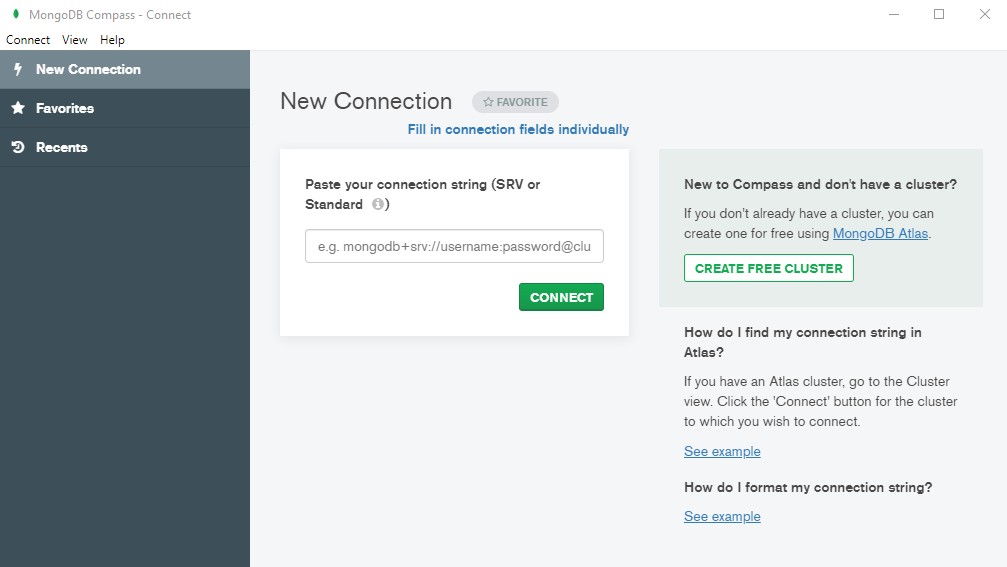
To launch the MongoDB Compass, click the MongoDB Compass icon. The following shows the main screen of the MongoDB Compass.
To connect to the local MongoDB Server, click the Connect button:
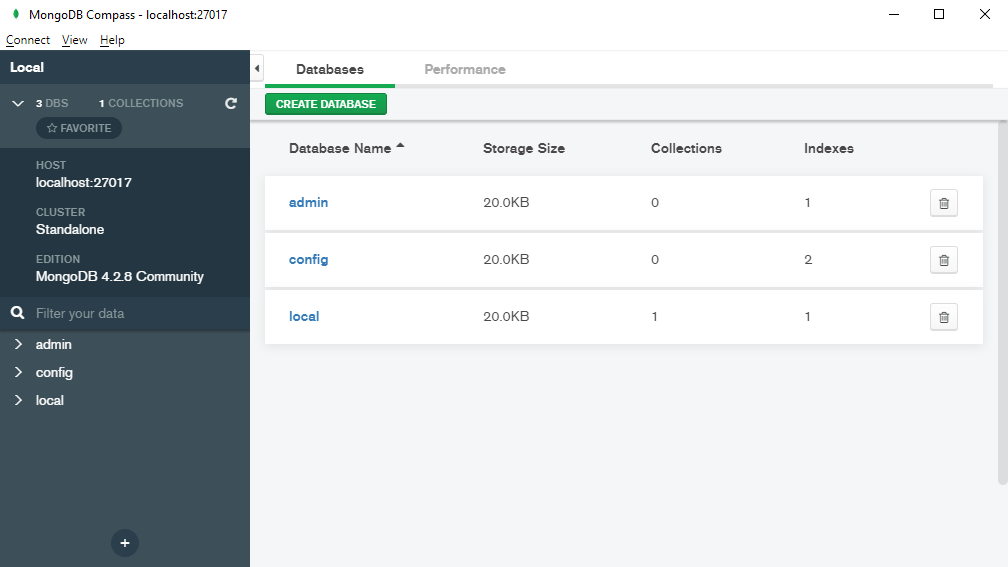
If everything is fine, you will see the following screen:
In this tutorial, you’ve learned step by step how to install the MongoDB server and MongoDB Compass on your computer. Now, you’re ready to learn about MongoDB.